|
|
|
Before starting the installation
|
|
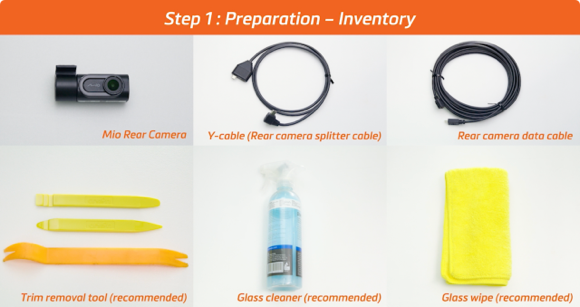
There’s no need to buy a lot of tools for the installation. In fact, you can find all the required items at your place! Even if you decide to buy an extra glass cleaner or glass wipe this time, they are quite useful for car cleaning. Let’s check whether you have these items-
|
|
|
- Mio rear cam (MiVue™ A50 as an example) + Y-cable + rear camera data cable
- Trim removal tool (recommended)
- Glass cleaner (recommended)
- Glass wipe (recommended)
|
|
If all the stuff is ready, we could start the installation right away!
|
|
During the installation
|
|
Remember these four steps and you could do it all by yourself successfully.
|
|
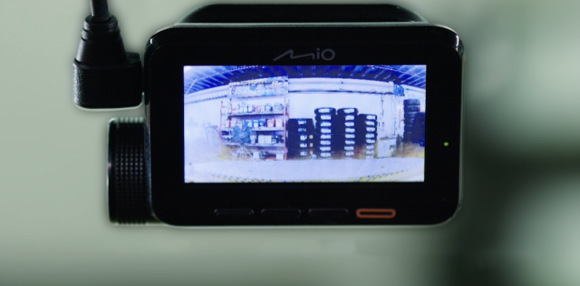
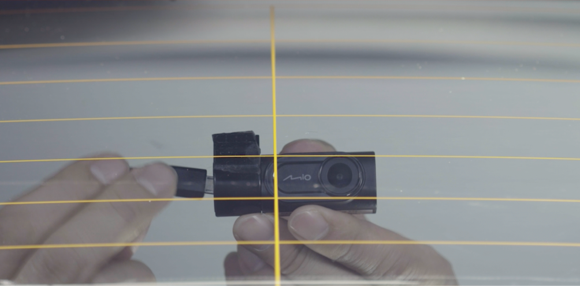
Step 1: Preparation – Testing
|
|
After starting the car engine, connect the rear cam to the Mio front cam and check whether the rear cam is working normally.
|
|
|
|
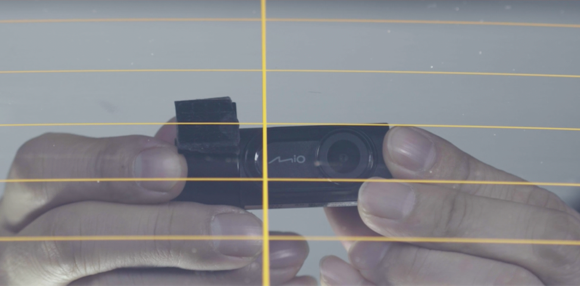
Step 2: Confirm installation – Positioning
|
|
Wipe down the intended installation area with a glass cleaner, then position the rear cam in the center of the rear window toward the top.
|
|
|
|
Step 3: This step will be divided into four parts.
|
|
A. Installation – Cabling
Connect the camera data cable to the rear cam, then hide the cable from the rear to the front.
|
|
|
|
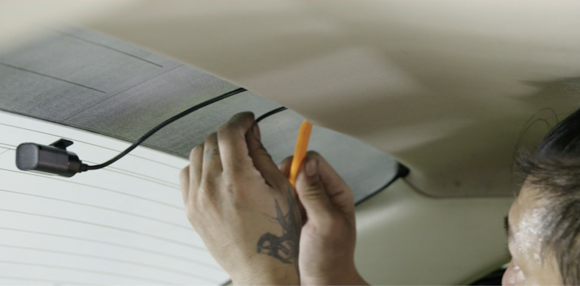
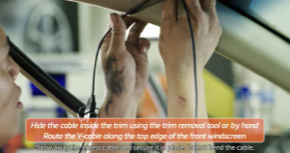
B. Installation – Rear cabling
Hide the cable inside the trim using the trim removal tool or by hand. You could also wrap the waterproof tape around the cable to increase the adhesion so it can be held securely.
|
|
|
|
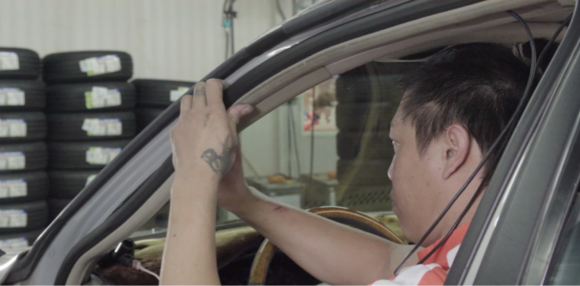
C. Installation – Middle cabling
Disassemble the waterproof rubber strip and the A-pillar case. If there is an airbag inside, be sure to place the wire carefully in order to avoid the airbag popping out.
|
|
|
|
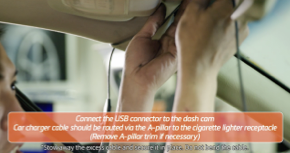
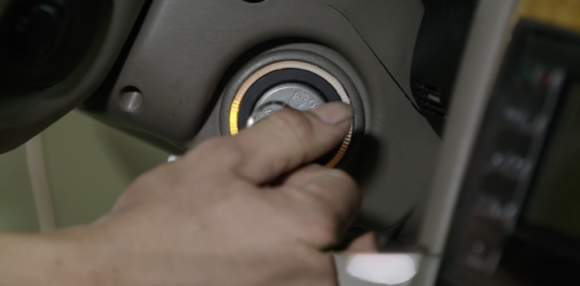
D. Installation – Front cabling
|